
Azure Active Directory: Creation of new tenant and user
In this post I’ll talk about how we can create a new Azure Active Directory instance/tenant and how a new custom user can be created within the new tenant.

Creating a new Azure Active Directory tenant
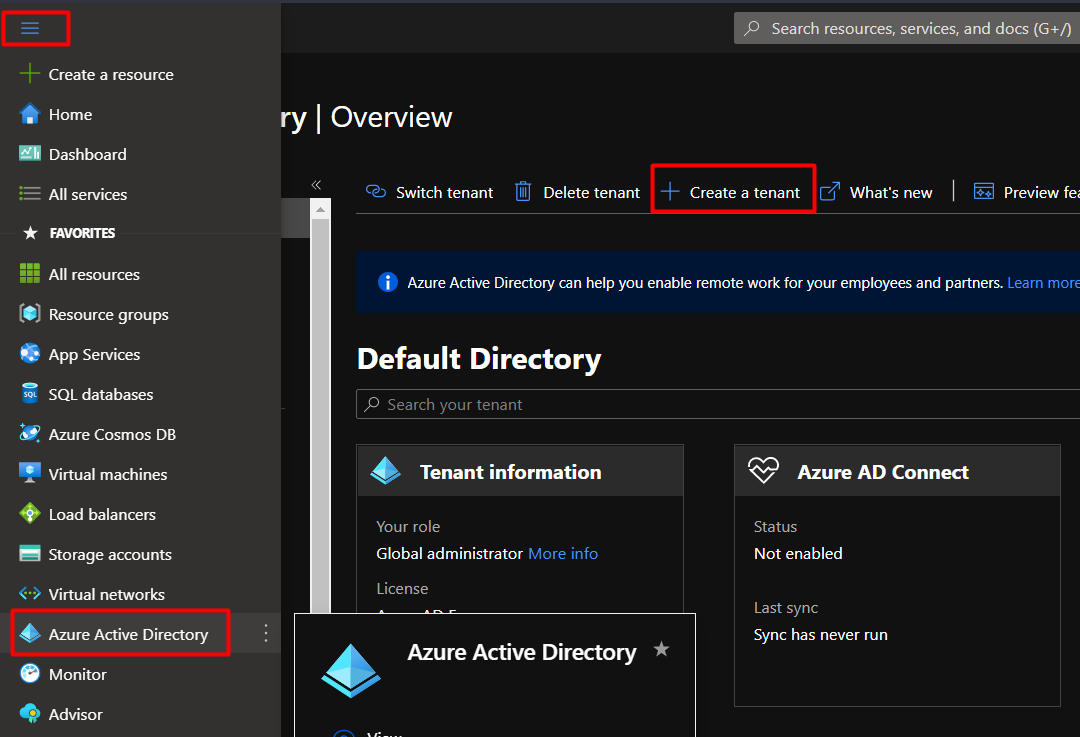
In your Azure portal, click on the hamburger menu, select Azure Active Directory resource and select the option to Create a new tenant as in the screenshot below.
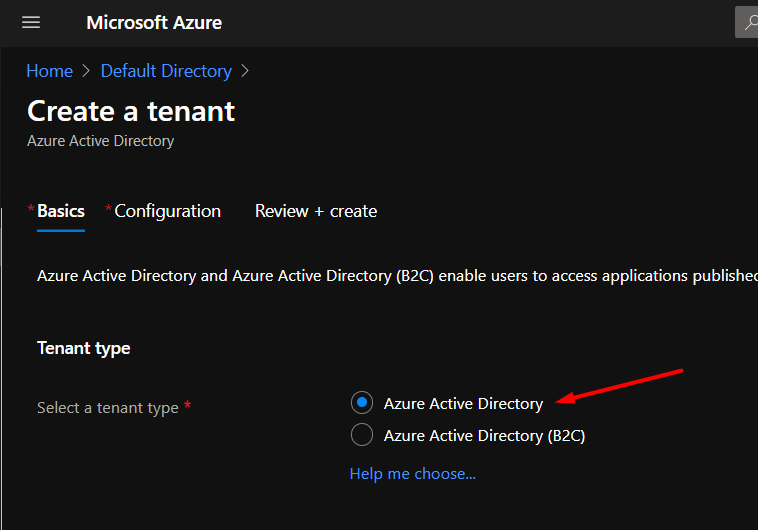
This will open up a new blade, where we will continue with the default selection of Azure Active Directory.
On this blade, we need to provide an Organization name and a domain name for this organization. You might choose to use a custom name for your use case. Note, that there is an option to replace the organization domain with a custom domain name for production scenarios. With that, instead of domain name like *.onmicrosoft.com we can have something on the lines of *.customdomain. Select the country/region based on the datacenter closest to your region or your customers.
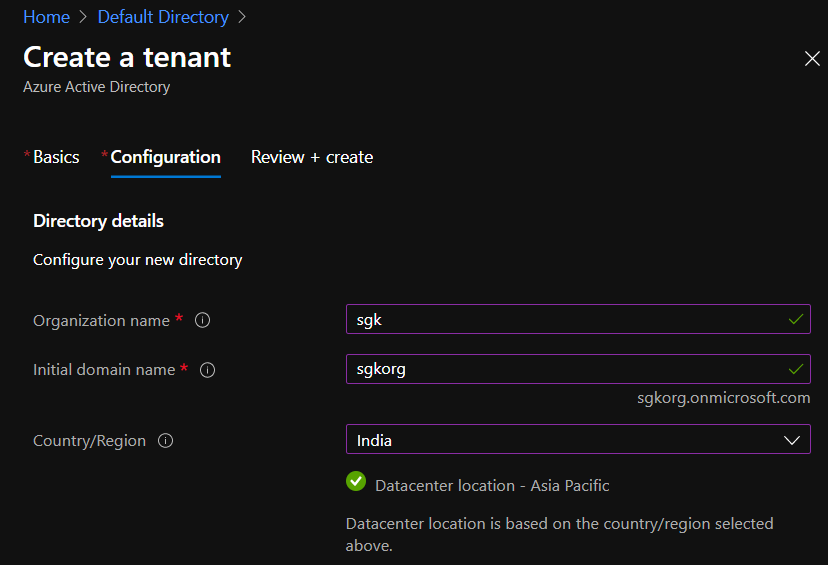
Click on the Review+Create option once details are filled and the new tenant will be created.
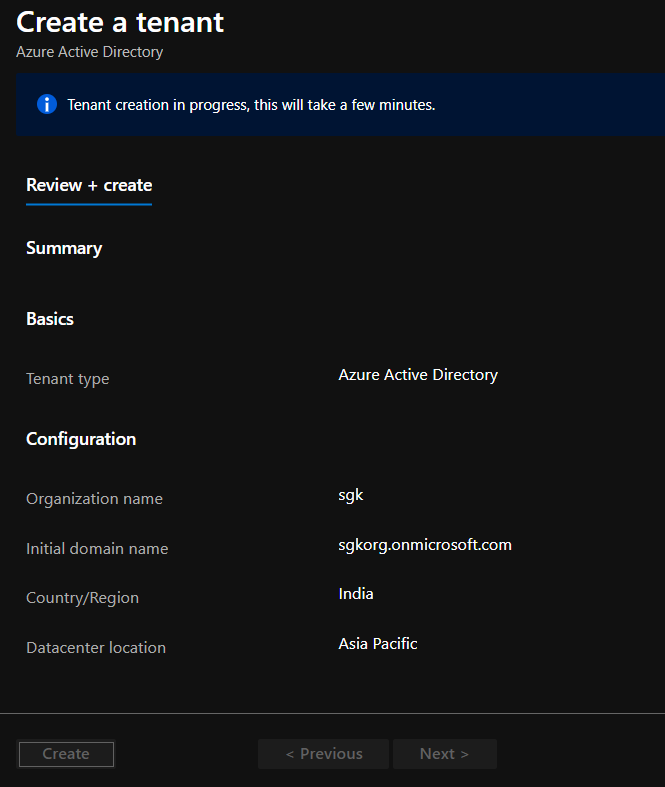
If all goes well, the tenant would be successfully created and you may now verify the same by clicking on the directory list icon on the top right navbar of azure portal as shown below. You’ll find your new tenant listed there amongst the other tenants you might be already part of.
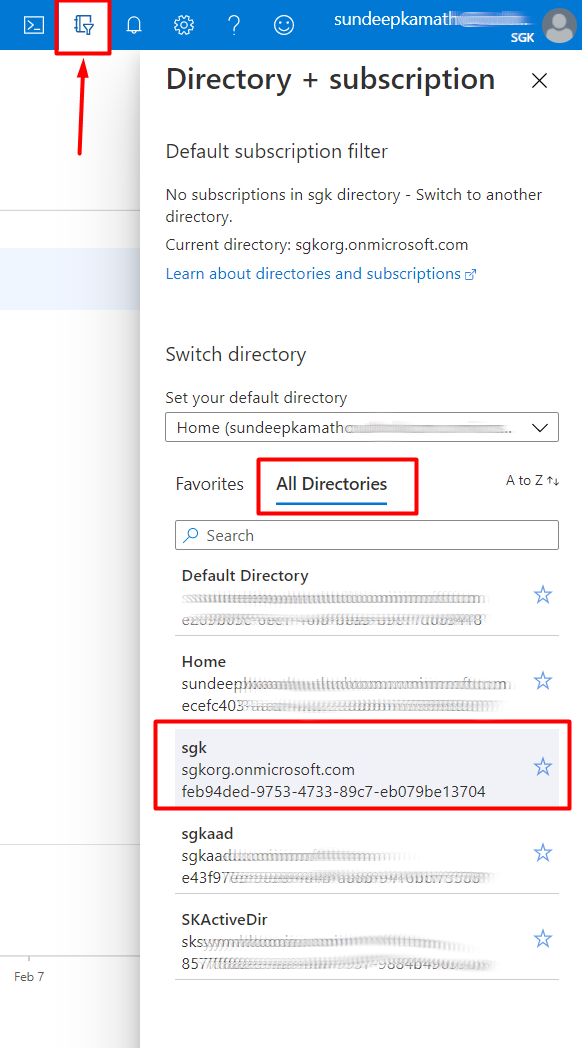
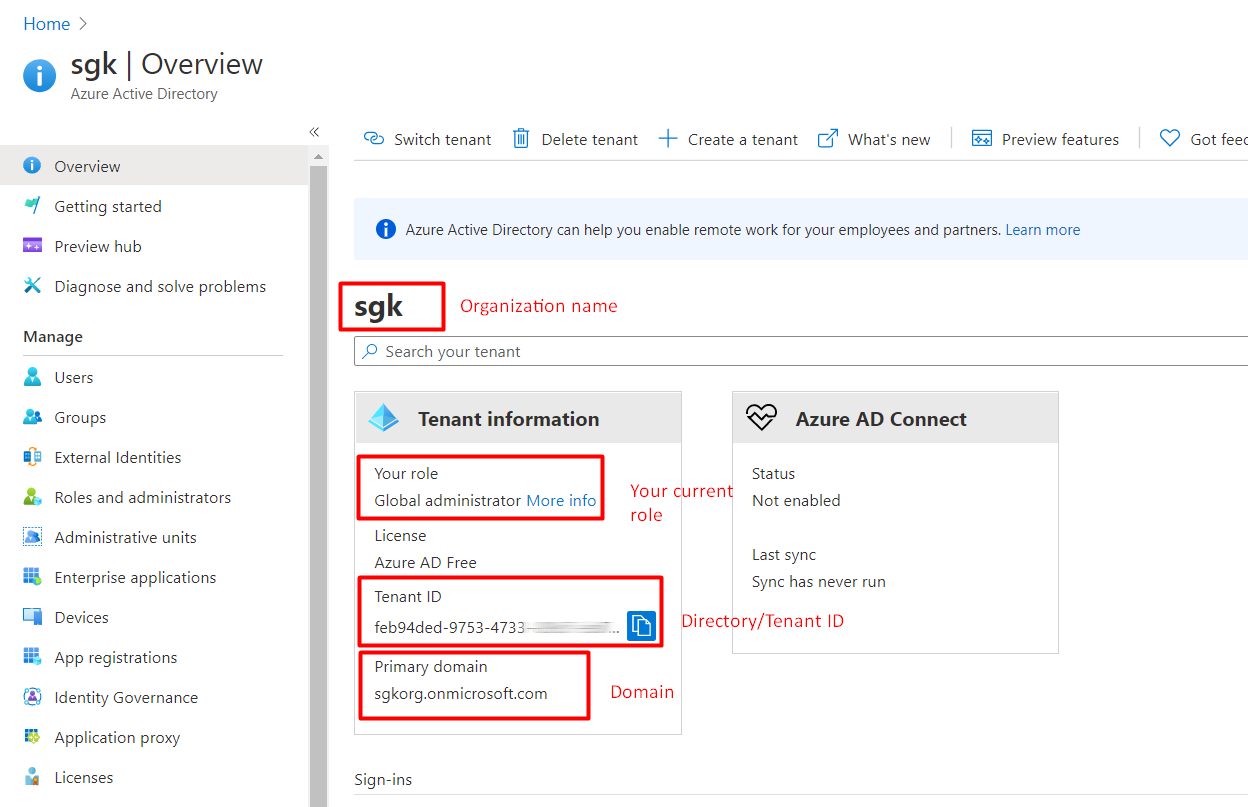
If you click on this tenant, the portal will load this Active directory instance and in the overview section you’ll be able to find all the details that were provided as part of the tenant creation workflow.
Create a new user in the Azure AD tenant
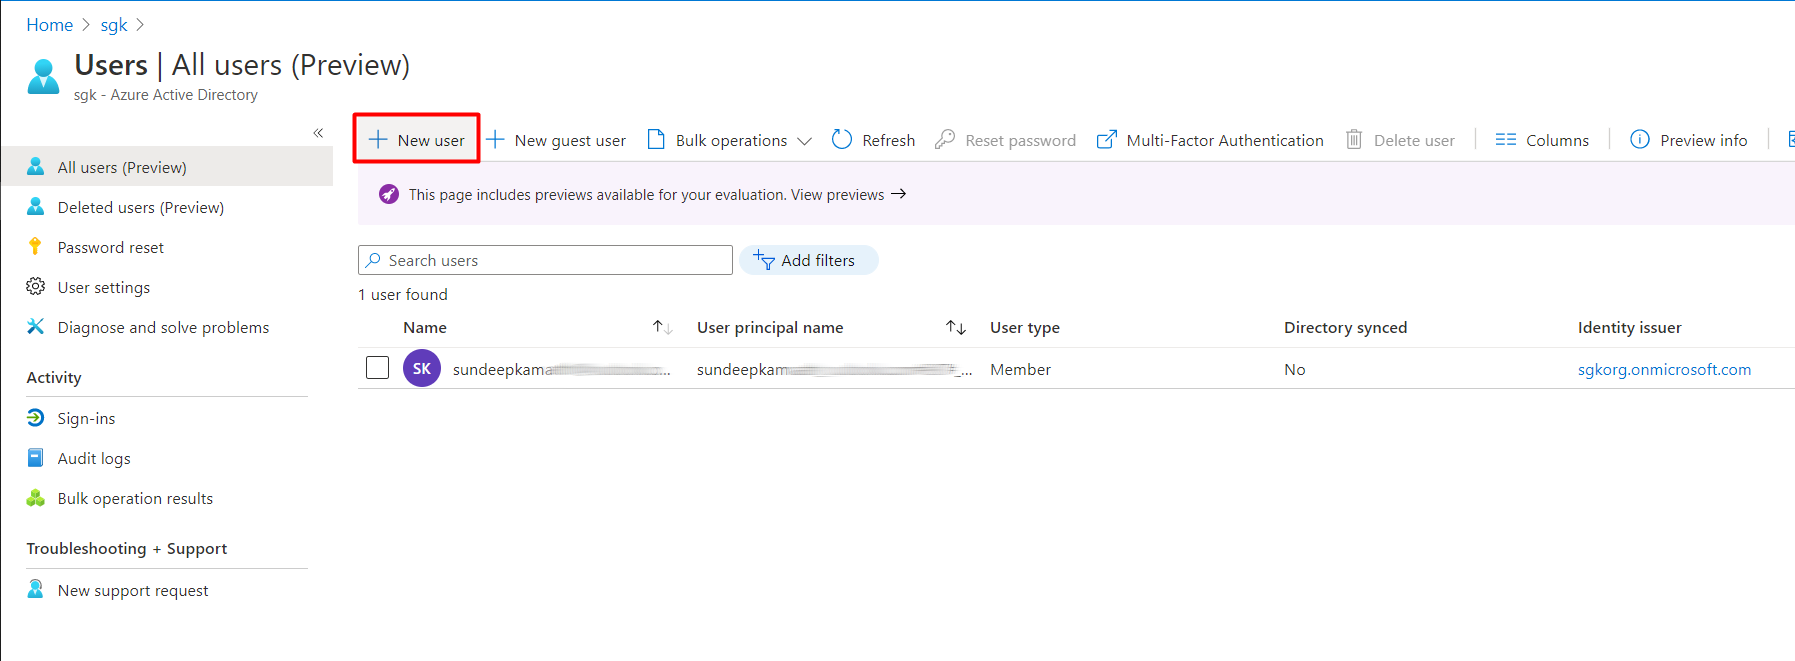
Click on the Users menu option in the left sidebar. This will open up the Users pane, which will display the current list of users part of this tenant and will provide various options to add new users, also to invite users from other Azure AD tenants. Click on the New user option at the top.
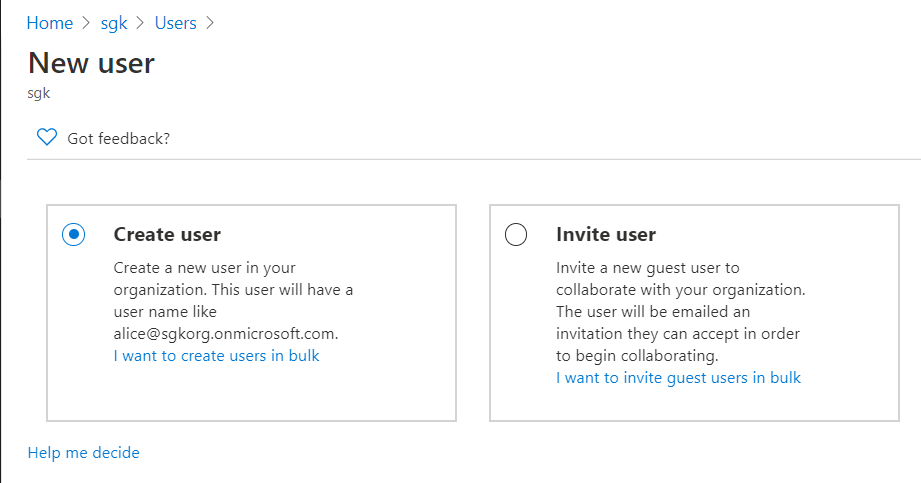
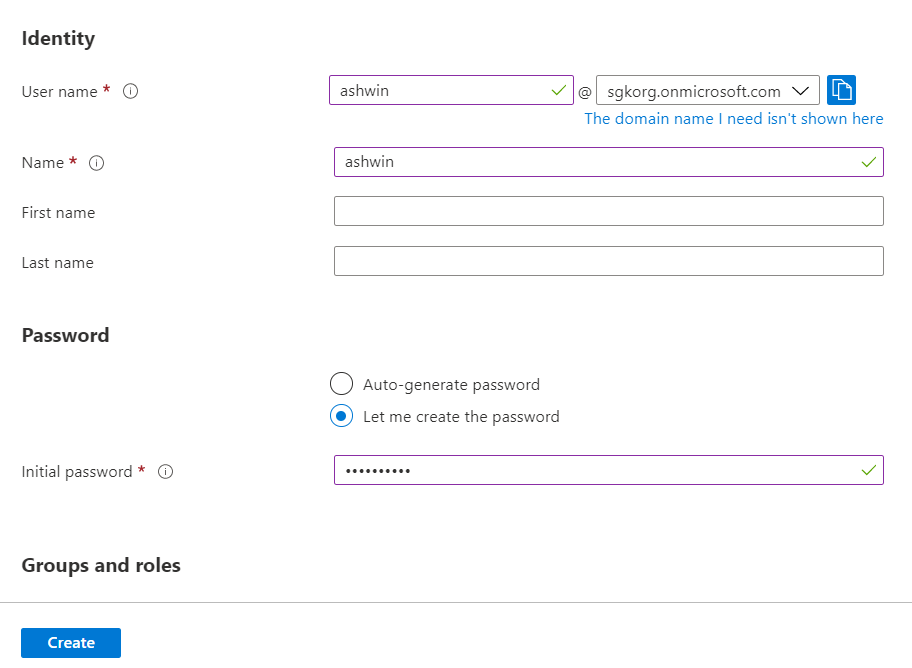
This opens up a new blade, which will provide following 2 options. We’ll proceed with the default selection, which is to create a new custom user.
Fill in the details of this new user and keep a note of the password, as this will be needed to be updated with a new password when the portal is logged in for the first time in the context of this user.
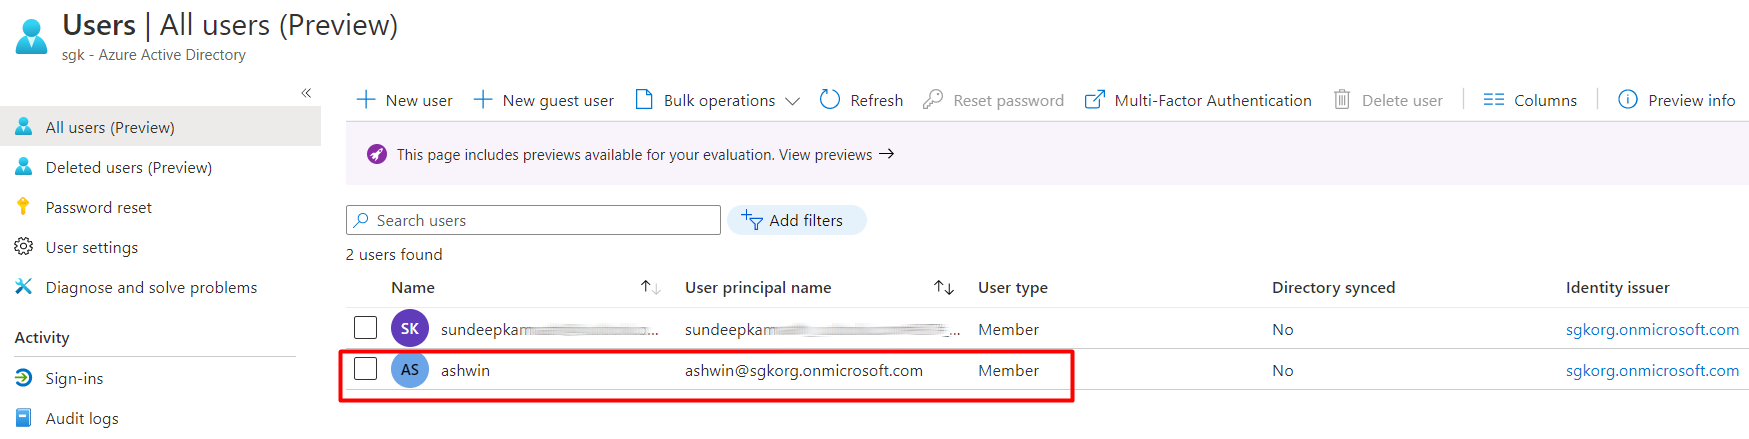
Post successful creation of the user, the root pane, will start showing this user in the current user list.
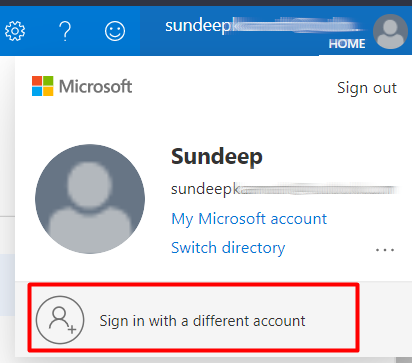
Now, logout from this portal and try signing in, in the context of this new user by selecting the option below from the top right corner of the portal as follows …
You will have to go through the login workflow provided by AAD, reset your password with a new one for the user (one-time process) and once you log in, the portal will display only those resources for which this user is granted access.
This was a very basic AAD and user creation walkthrough for beginners. While Azure provides multiple complex scenarios for each of these workflows, for the scope of this article we’ll stick to the basics. In the next few articles, I’ll show how we can use this new AAD tenant and the newly created user to demonstrate user authentication to a website.
Hope this was useful!!
Leave a Comment